
Before getting into the meat of this piece, I want to be perfectly clear about the fact that the tips discussed are exactly that, tips. They are not hard and fast rules. Absolute rules of that nature do not exist.
I would never want you to think that if an image you are composing contradicts one of my tips, you should not make the photograph exactly as you are composing it. If you like your composition and think you will like the image, make the picture. You can always delete an image later.
In essence, the tips I am suggesting are intended to help you understand factors that, as a general rule, make people like images.
The Tips
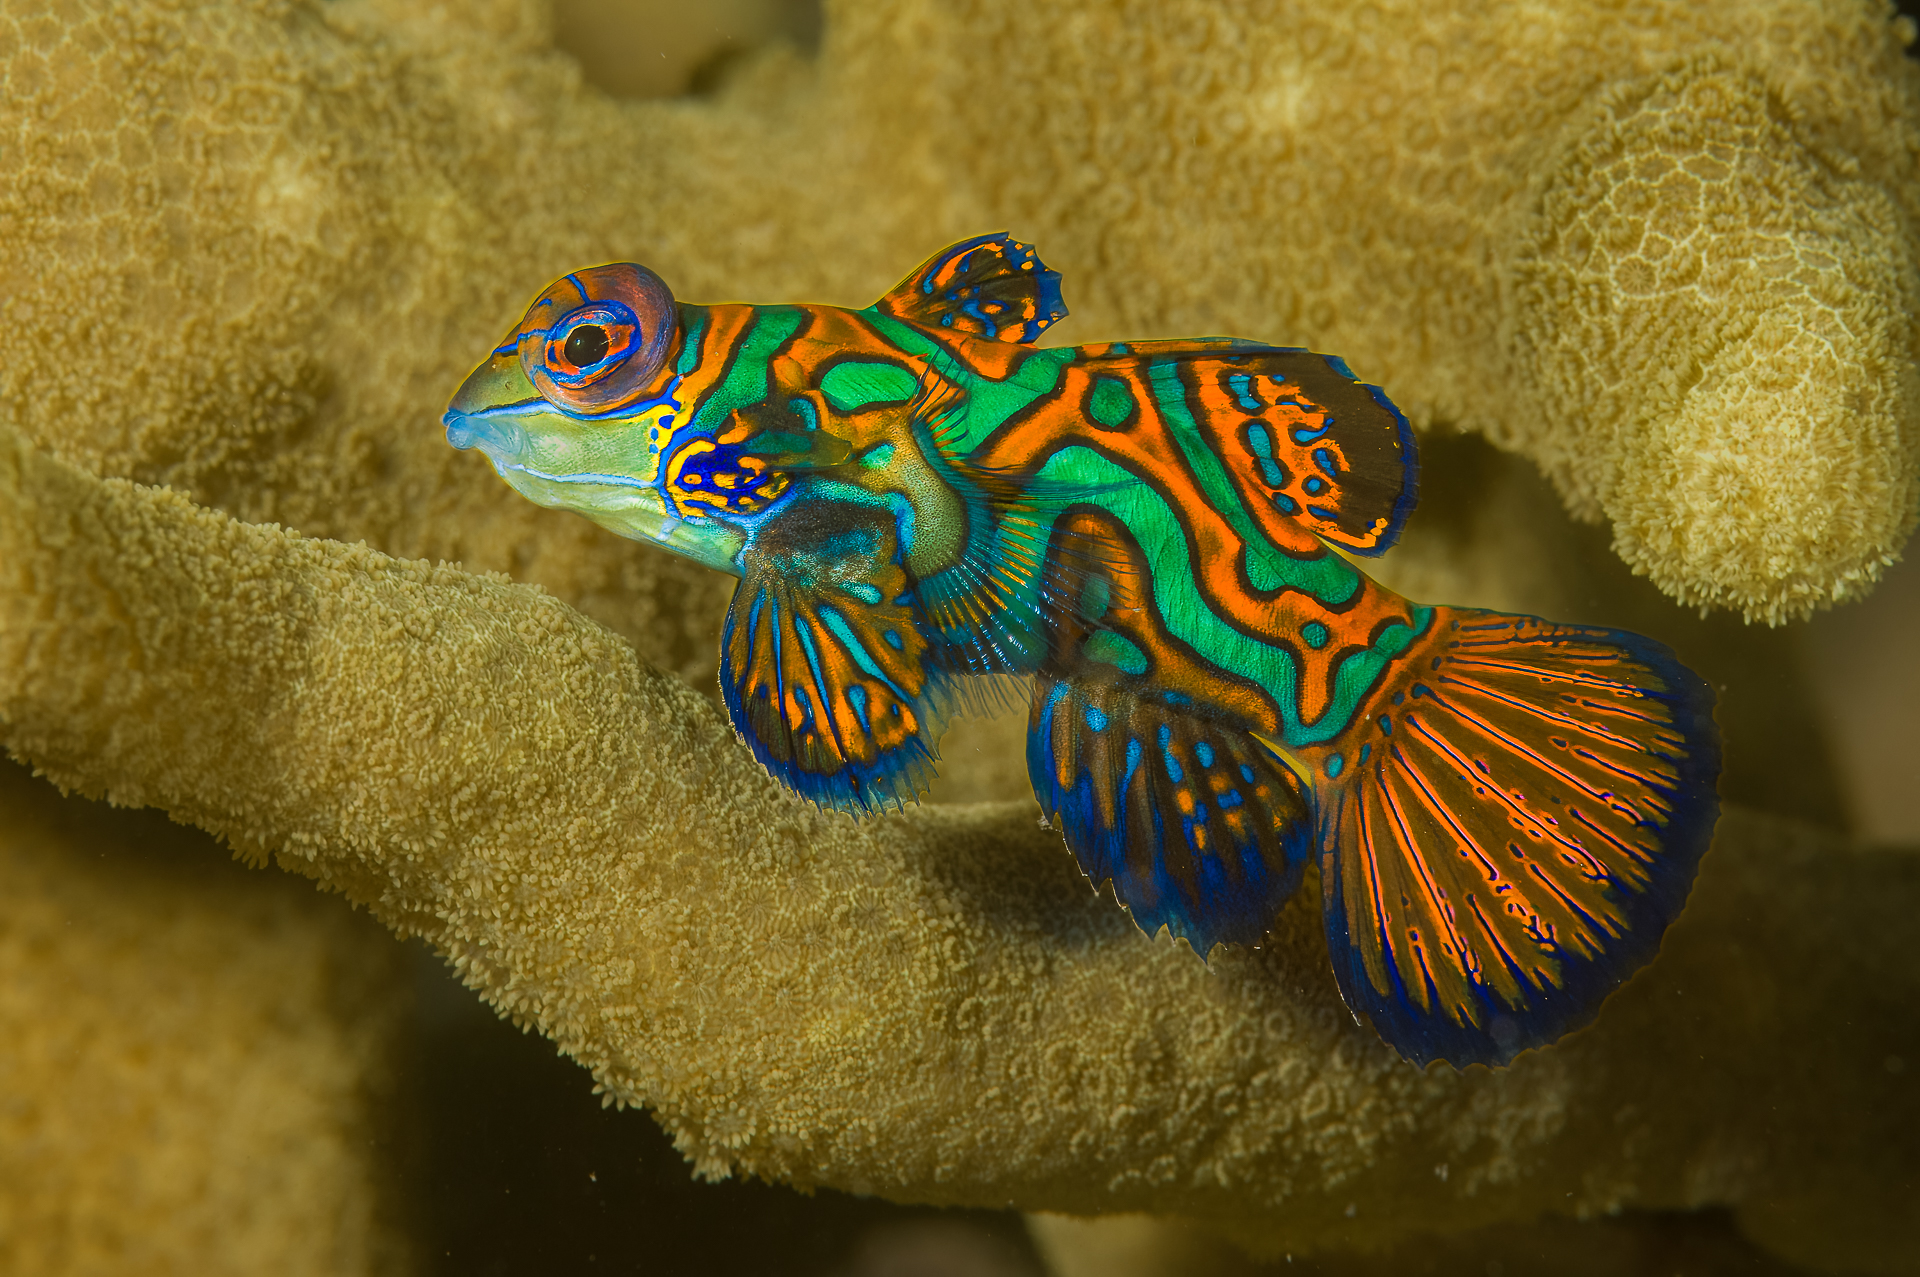
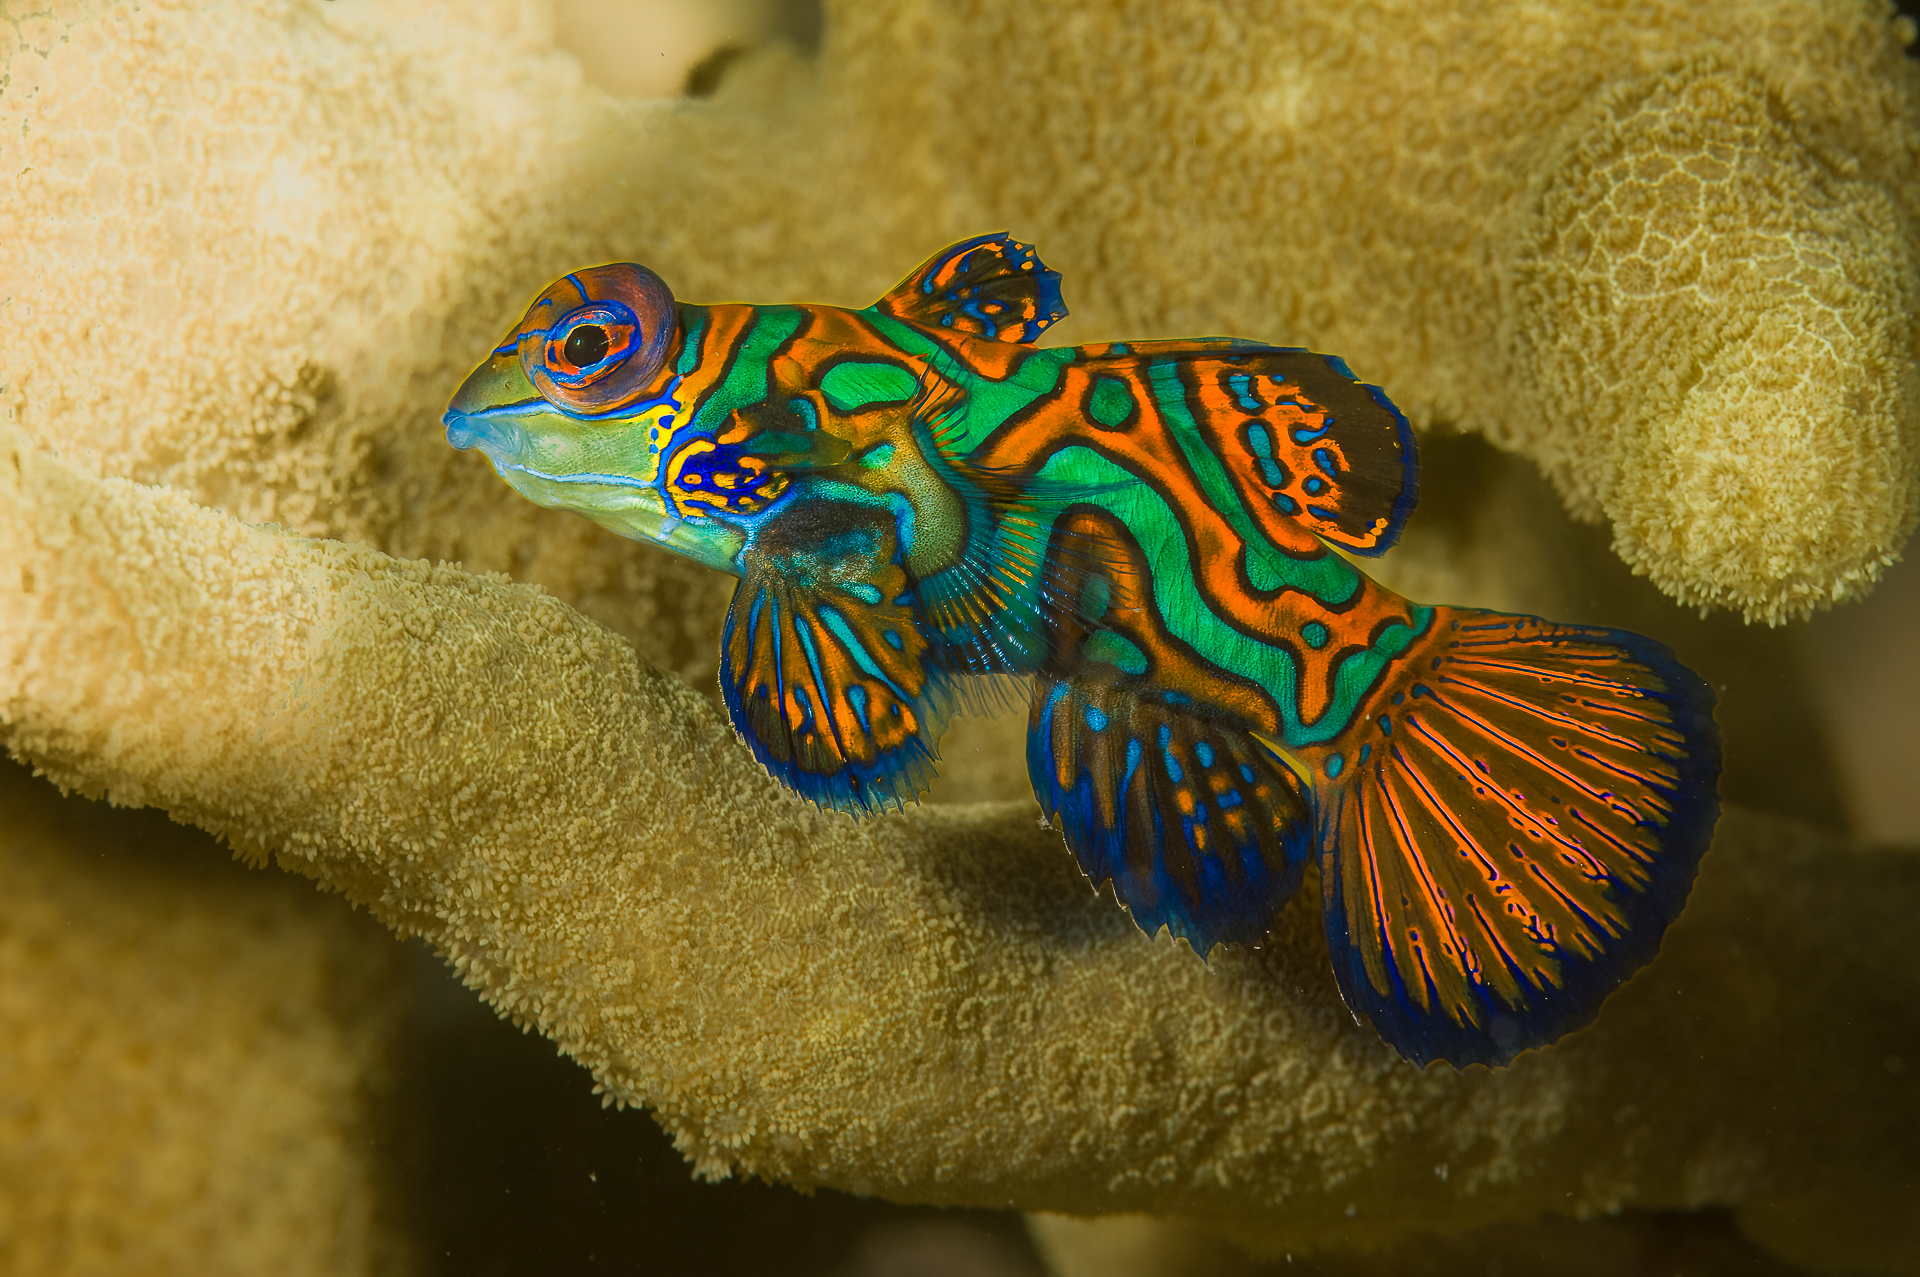
1) Fill a pleasing percentage of your frame with your subject.
Accomplishing this objective makes it easy for viewers to know what to look at. Placing elements other than the subject in a frame can add context and perspective, but in many instances, when a subject is quite small in a frame, the image fails to hold interest. While there is not a percentage of a frame that must be filled to create a pleasing image, you want to strive to make it easy for viewers to quickly understand what the subject of a photograph is.

This great white shark is a far more dramatic subject than the whitetip reef shark pictured below. But the great white is so small in the frame that the image lacks impact and is unlikely to hold viewer interest.

This photograph of a whitetip reef shark, an animal that is much smaller and far more docile than the great white shark, has greater visual appeal in large part because the whitetip reef shark occupies a pleasing percentage of its frame.
2) Get close to your subject so you can shoot through as little water as possible.
Accomplished shooters are often quick to tell newer photographers that when they think they are close to their subject, they get closer. And when they think they have got closer, get even closer to their subject.
Even in water with 100 feet-plus visibility, there is a lot of suspended particulate in the water column. The particulate reduces sharpness and denigrates image quality. The takeaway point is the closer you are to your subject, the less particulate you will shoot through and the sharper your images can be.
Shooting through water also reduces the vividness of the colors in your images. The deeper you dive, the less apparent warm colors (reds, oranges, and yellows) become as water selectively filters out different wavelengths of light. It’s not just depth that is a factor. Light from strobes and video lights is similarly impacted. To help add warm colors when using an artificial light get close to your subject.
3) Avoid “dead center” composition.
It is a common shortcoming for less experienced photographers to compose pictures with their subject “dead center” in the middle of the frame. While this composition can be pleasing, more often, it leads to a lot of wasted space in front of or around the subject and “cut off” body parts of divers, fishes, and other elements. Fishes with “cut off” tails and divers with arms “cut off at the elbow, knees, or even mid-fin” often prove to be disconcerting, especially when there is unused room in a frame to fit those parts into a shot if the subject was not “dead center” in your frame.
Dead center composition often leads to disappointing composition as is the case here.

By comparison, this composition of the same subject makes much better use of the entire frame and is usually far more pleasing to viewers.
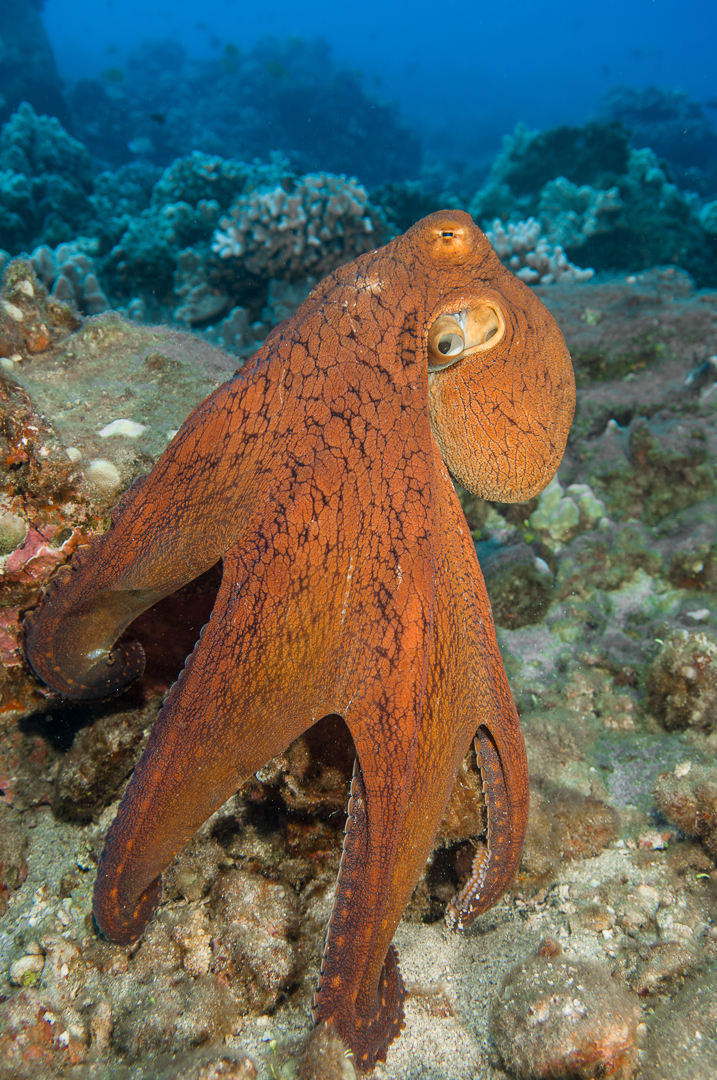
4) Look for contrast between your subject and its surroundings.
Contrast helps a subject stand out in a frame, making it easy for viewers to know where to look. Contrast occurs in a variety of forms. A subject that has a different color than its surroundings is often easy to identify. The same is true for a subject with a different brightness than its surroundings. Silhouettes provide excellent examples of brightness contrast. Taking advantage of a subject that has a different shape than its surroundings is another way to take advantage of contrast.
The aforementioned said many marine animals are camouflage artists, making it hard to create an image in which the subject is easy to discern. That’s the challenge. Working to find a way to create contrast when composing your shot is worth the effort and can make the difference between a snapshot and a photograph.
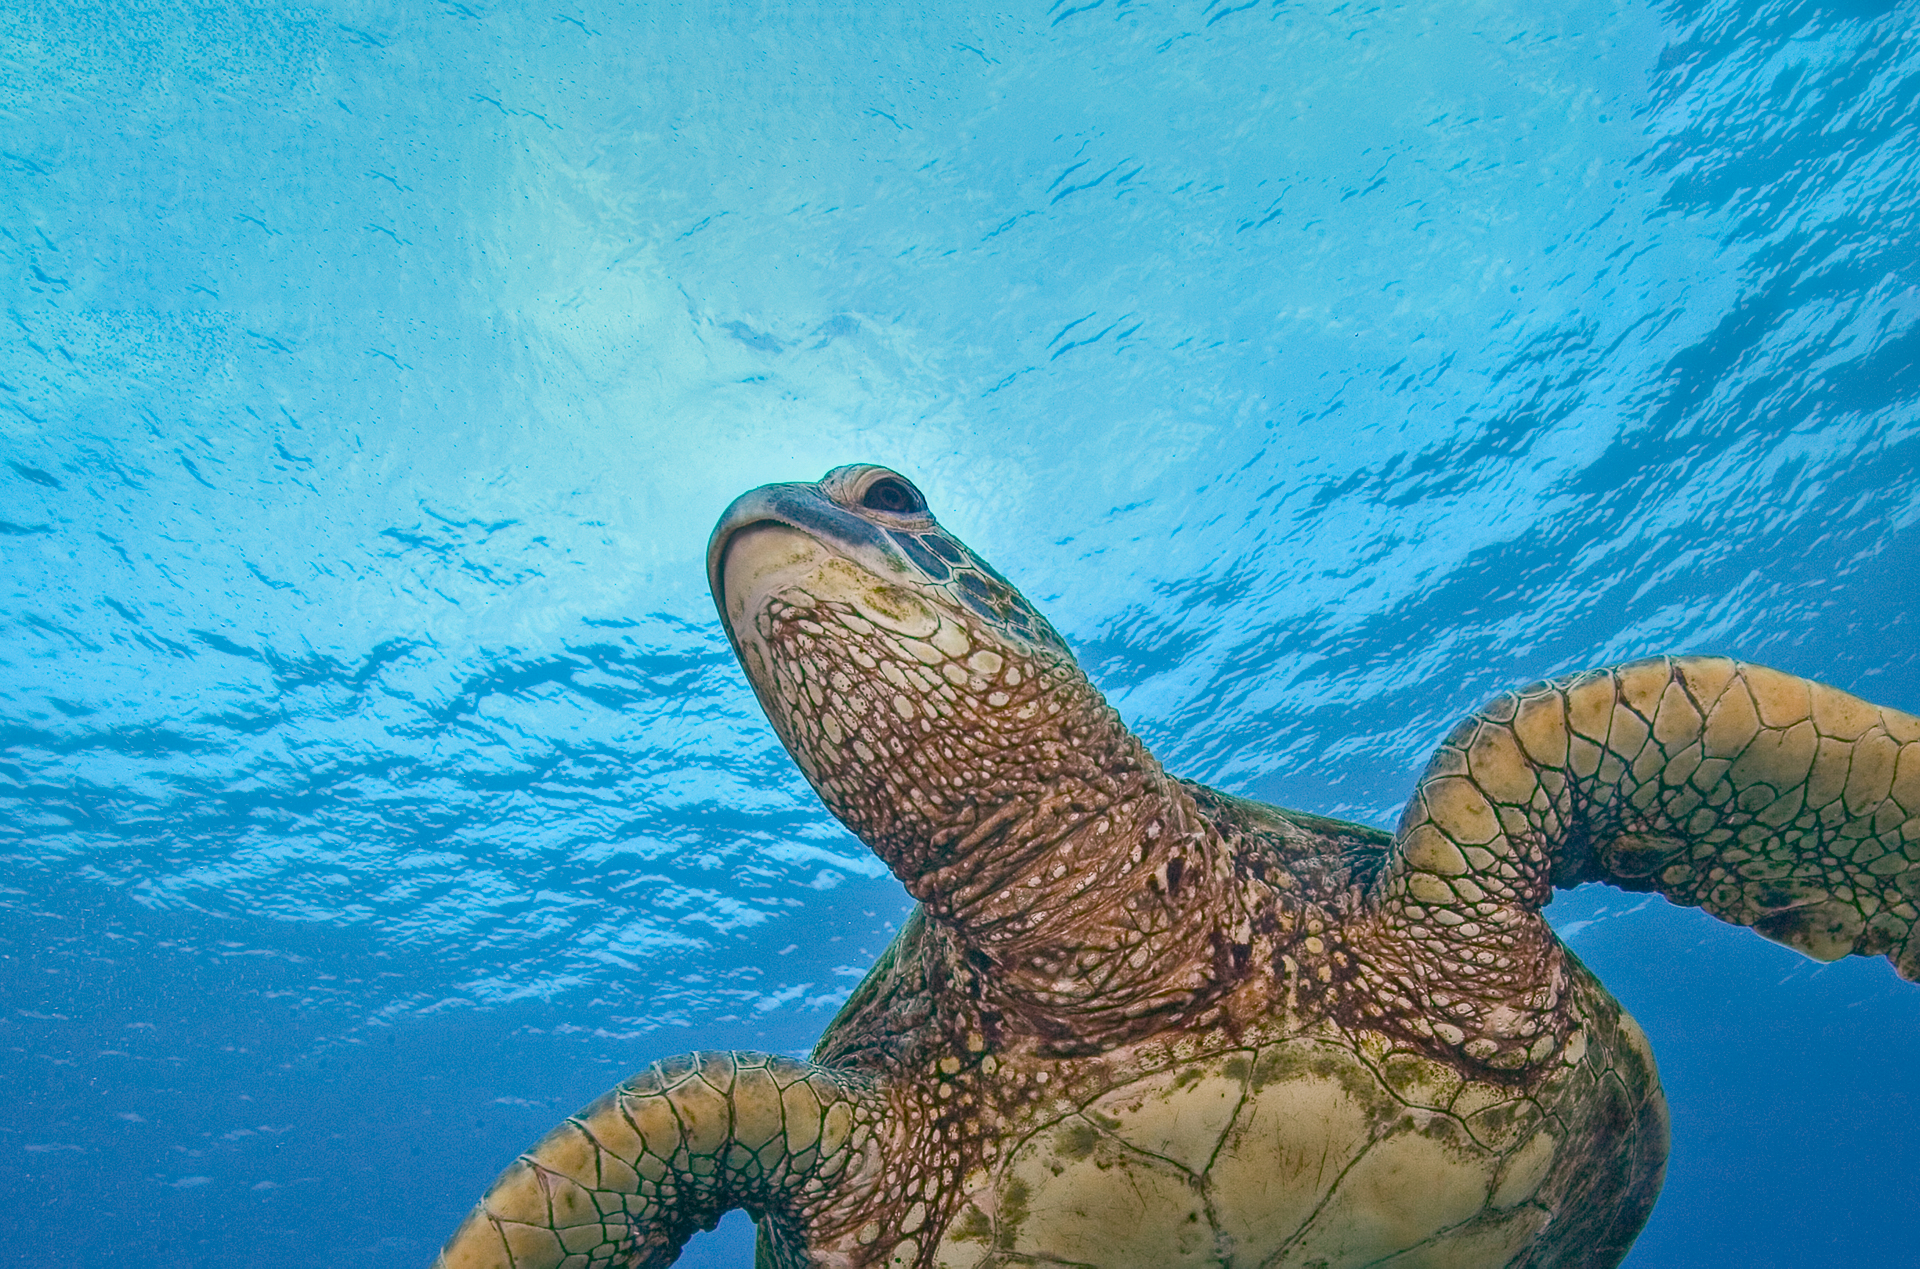
5) If your subject has eyes, make sure they are in sharp focus and lit well enough for the viewer to recognize them as eyes.

As humans, we relate to other people and to animals by making eye contact. It is just plain weird when we meet or talk with someone who does not look at us. The same thing is true with our photographs. Viewers make eye contact with subjects. A diver or an animal that has eyes that are out of focus or badly lit is usually a “deal breaker” in terms of successfully creating an image that has an impact.
6) Make the brightest part of your frame the place you want your viewers to look.
When we look at photographs, our eyes tend to go right to the brightest part or element in a frame. This means you want the brightest part of a frame to be where you want viewers to look. Bright elements in a frame that are not key parts of the frame tend to be a big distraction.
So, do this👇
Not This 👉
7) Give moving subjects some place to go.
It is almost always far more pleasing to give forward swimming animals and divers some room in a frame in front of them to avoid creating the feeling of “someone slamming a door in their face”. Often referred to as headroom, the space has a way of making an image “feel natural”, while a “slamming door” usually feels jarring.
Do This👇
Not This 👉
8) Don’t divide your frame into two equal parts.
Bisecting a frame often leads to confusion for viewers because they don’t instinctively know where you want them to look. Their eyes tend to repeatedly move from one subject to another in an unsettling manner. I am not saying you should never have two dolphins, morays, nudibranchs, etc. in a frame, but as a rule, you want to avoid placing two subjects in the same frame in a way that makes it hard for viewers to know where you want them to look. It’s your frame, so lead viewers to your point of emphasis.
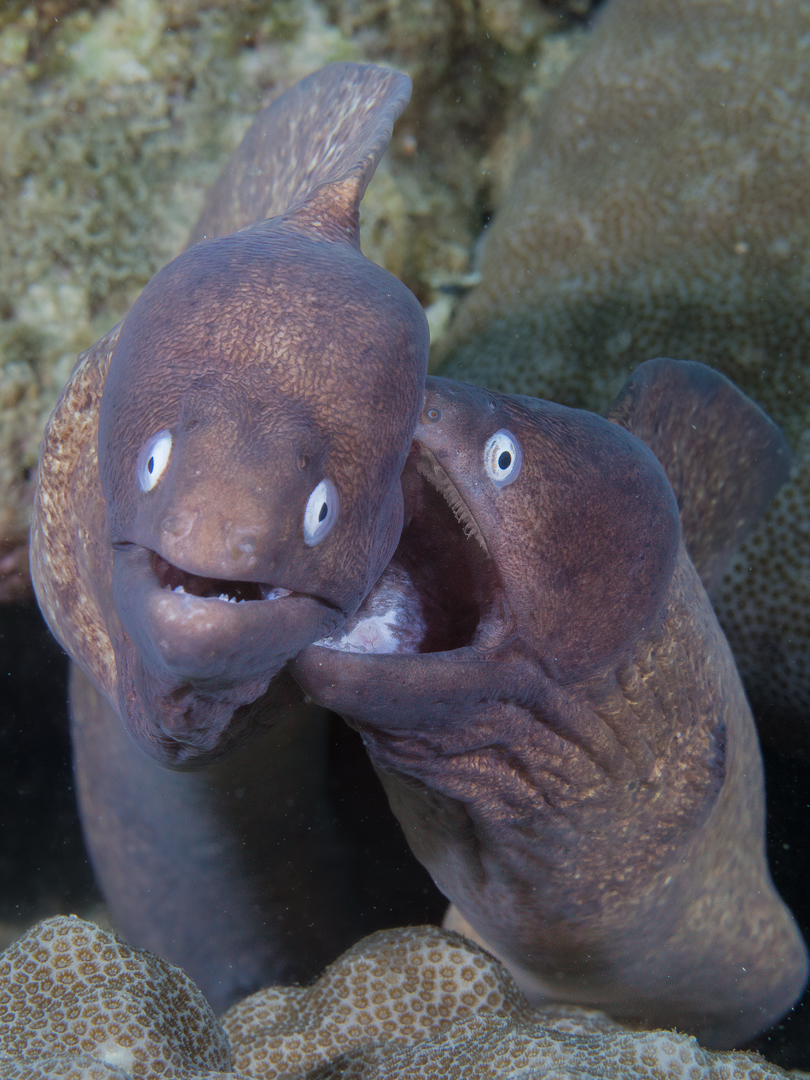
Avoid compositions like this 👇
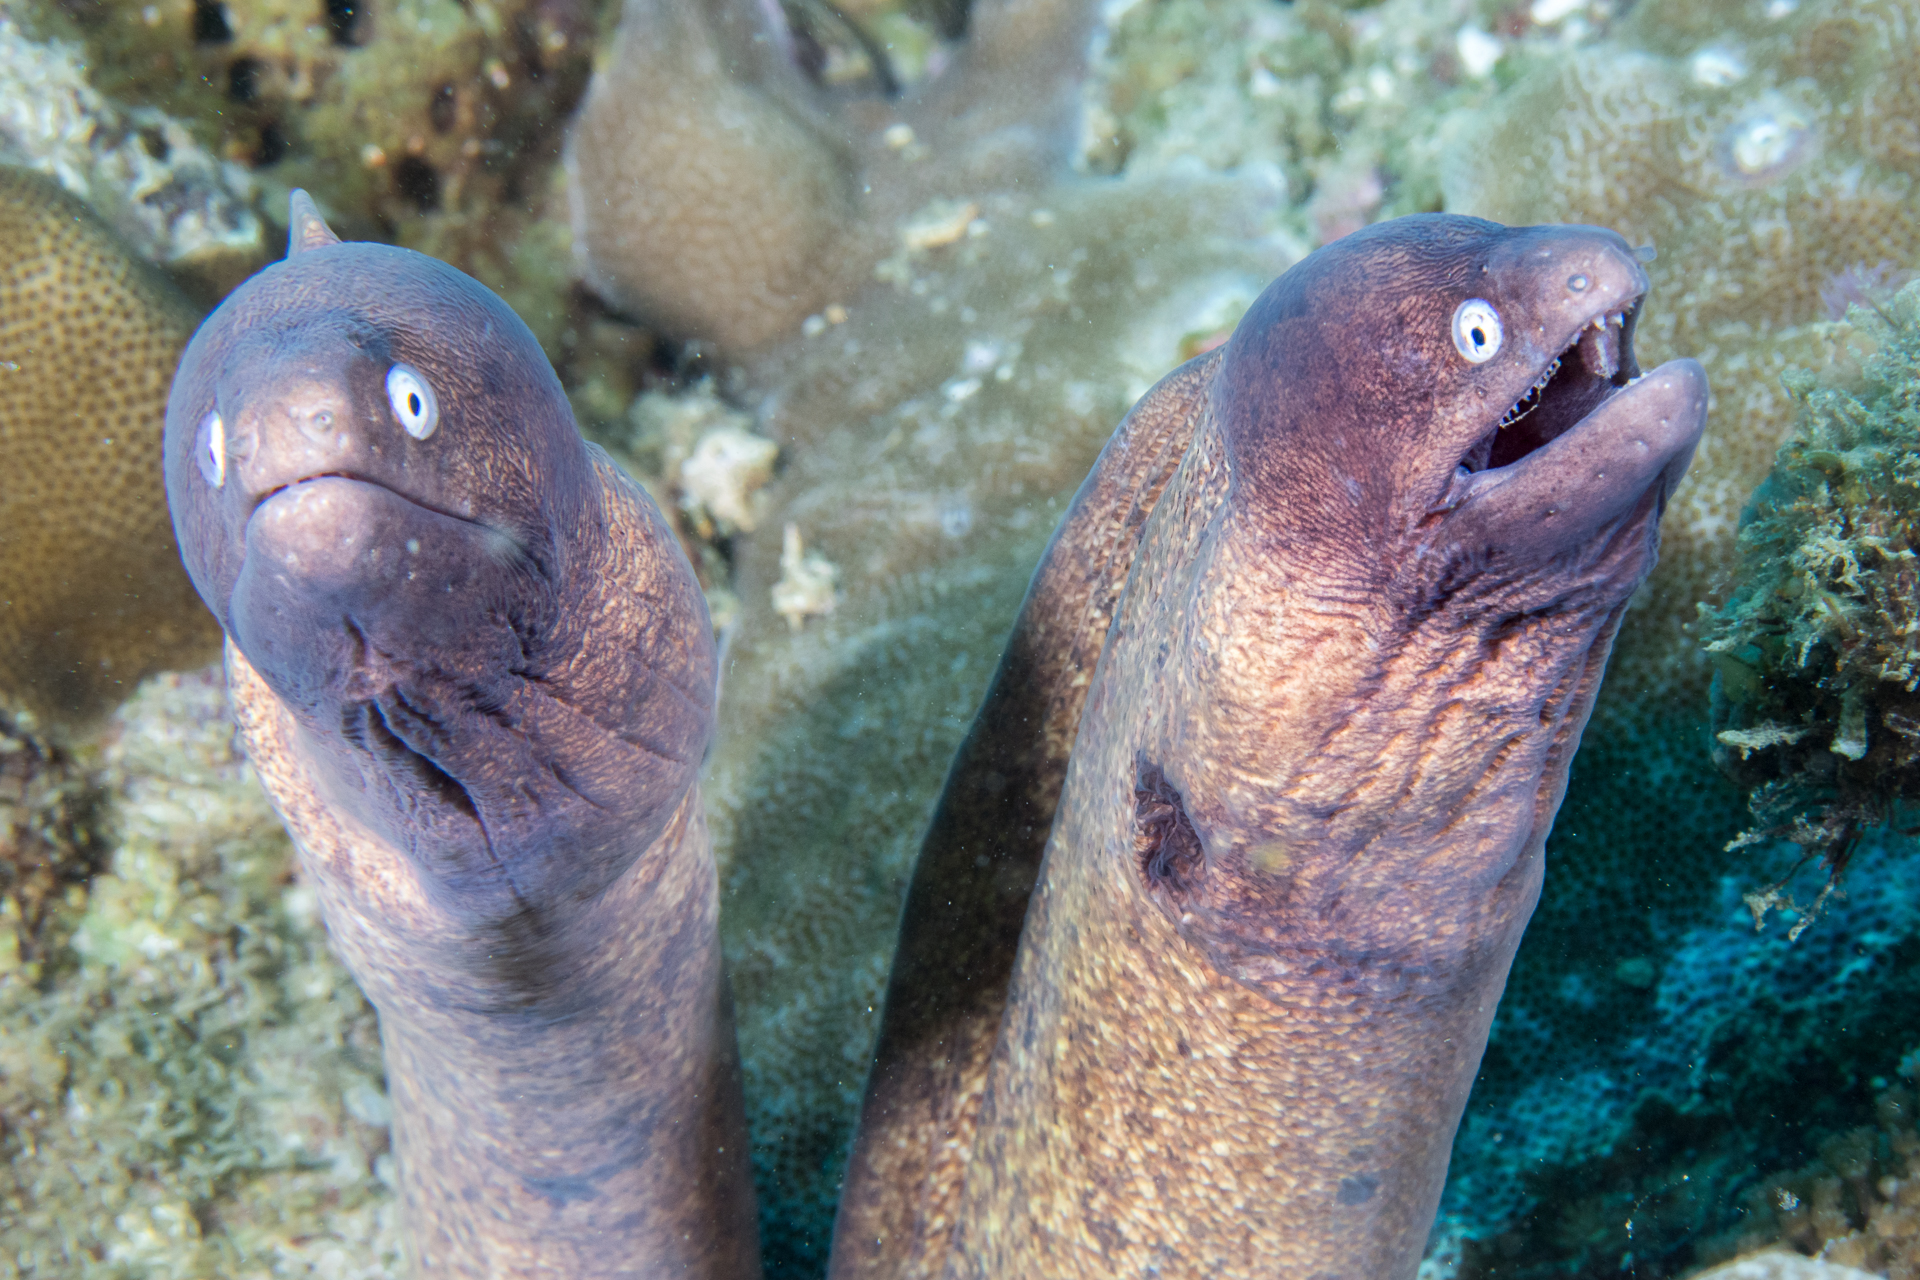
Try for this instead 👉

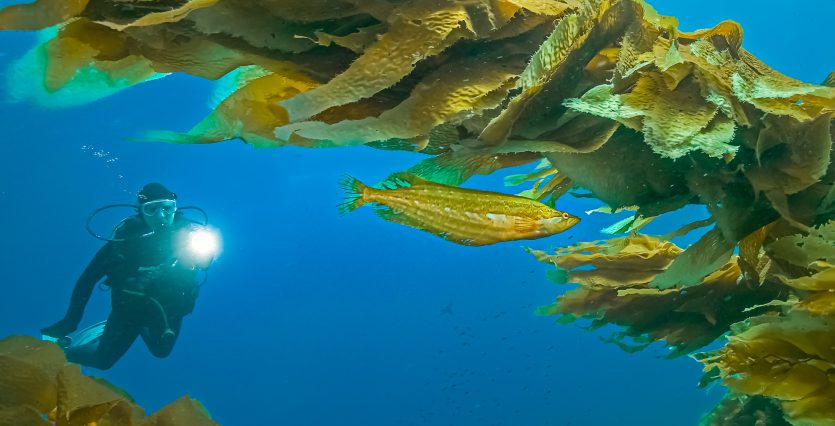
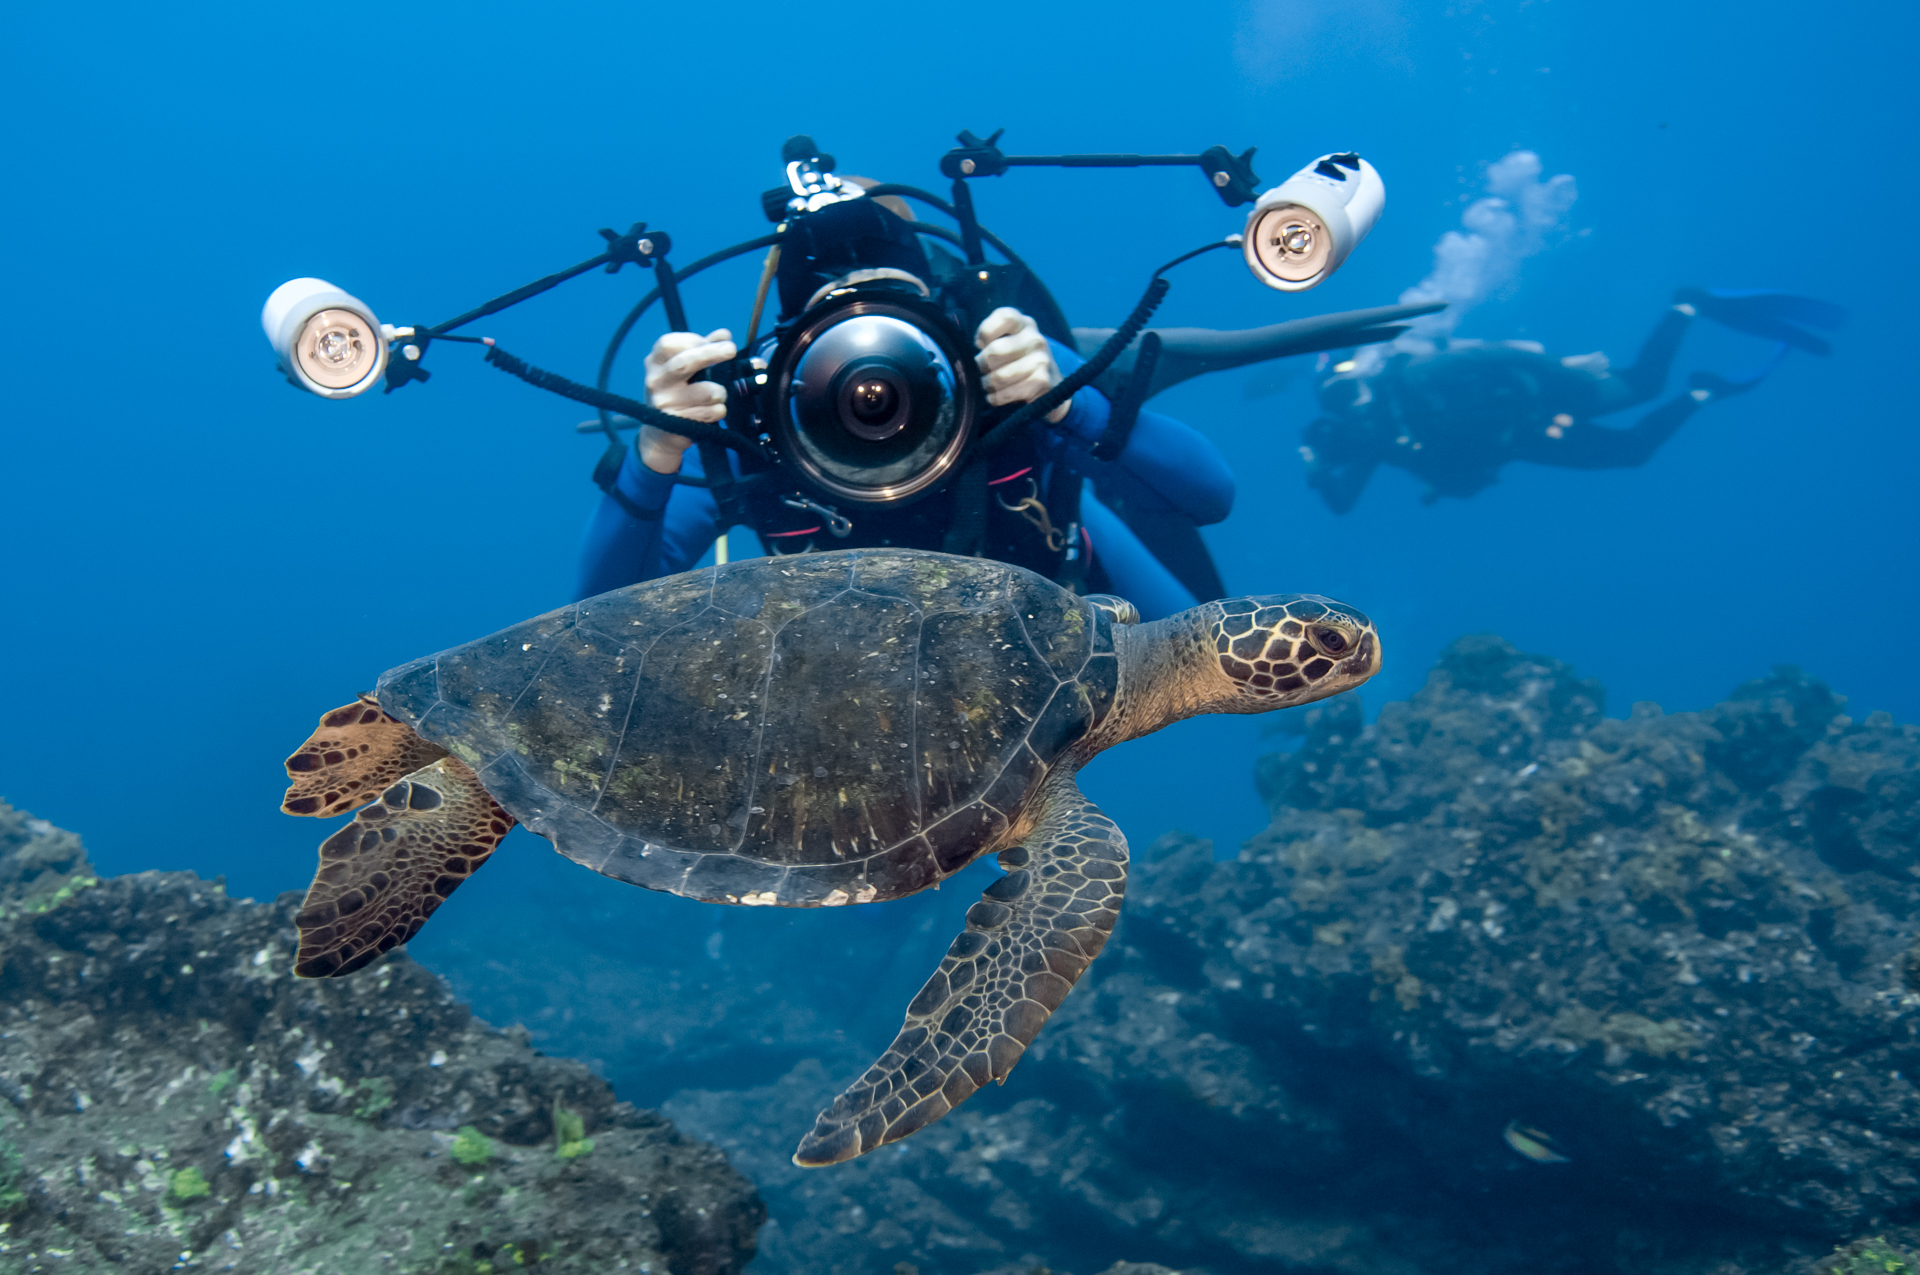
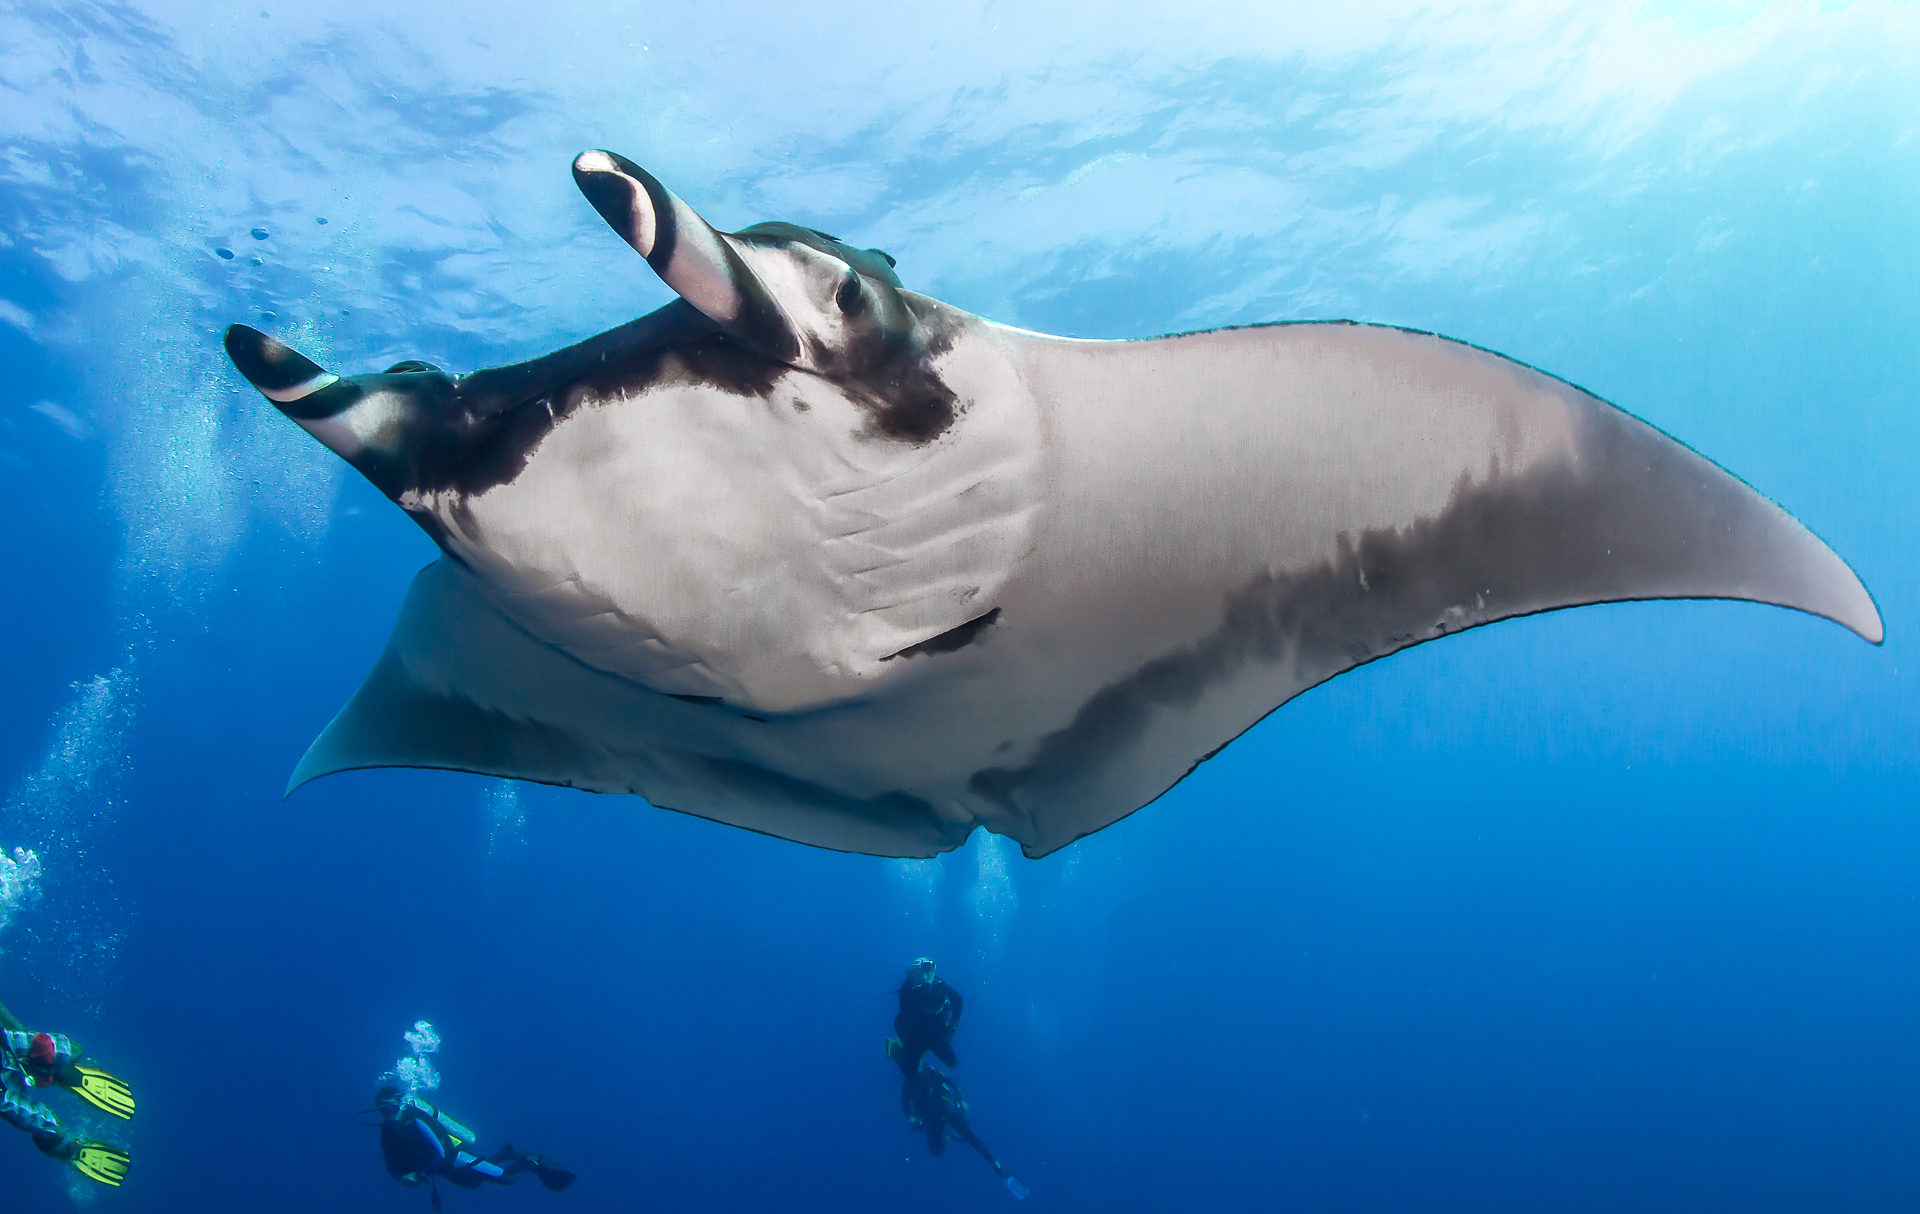
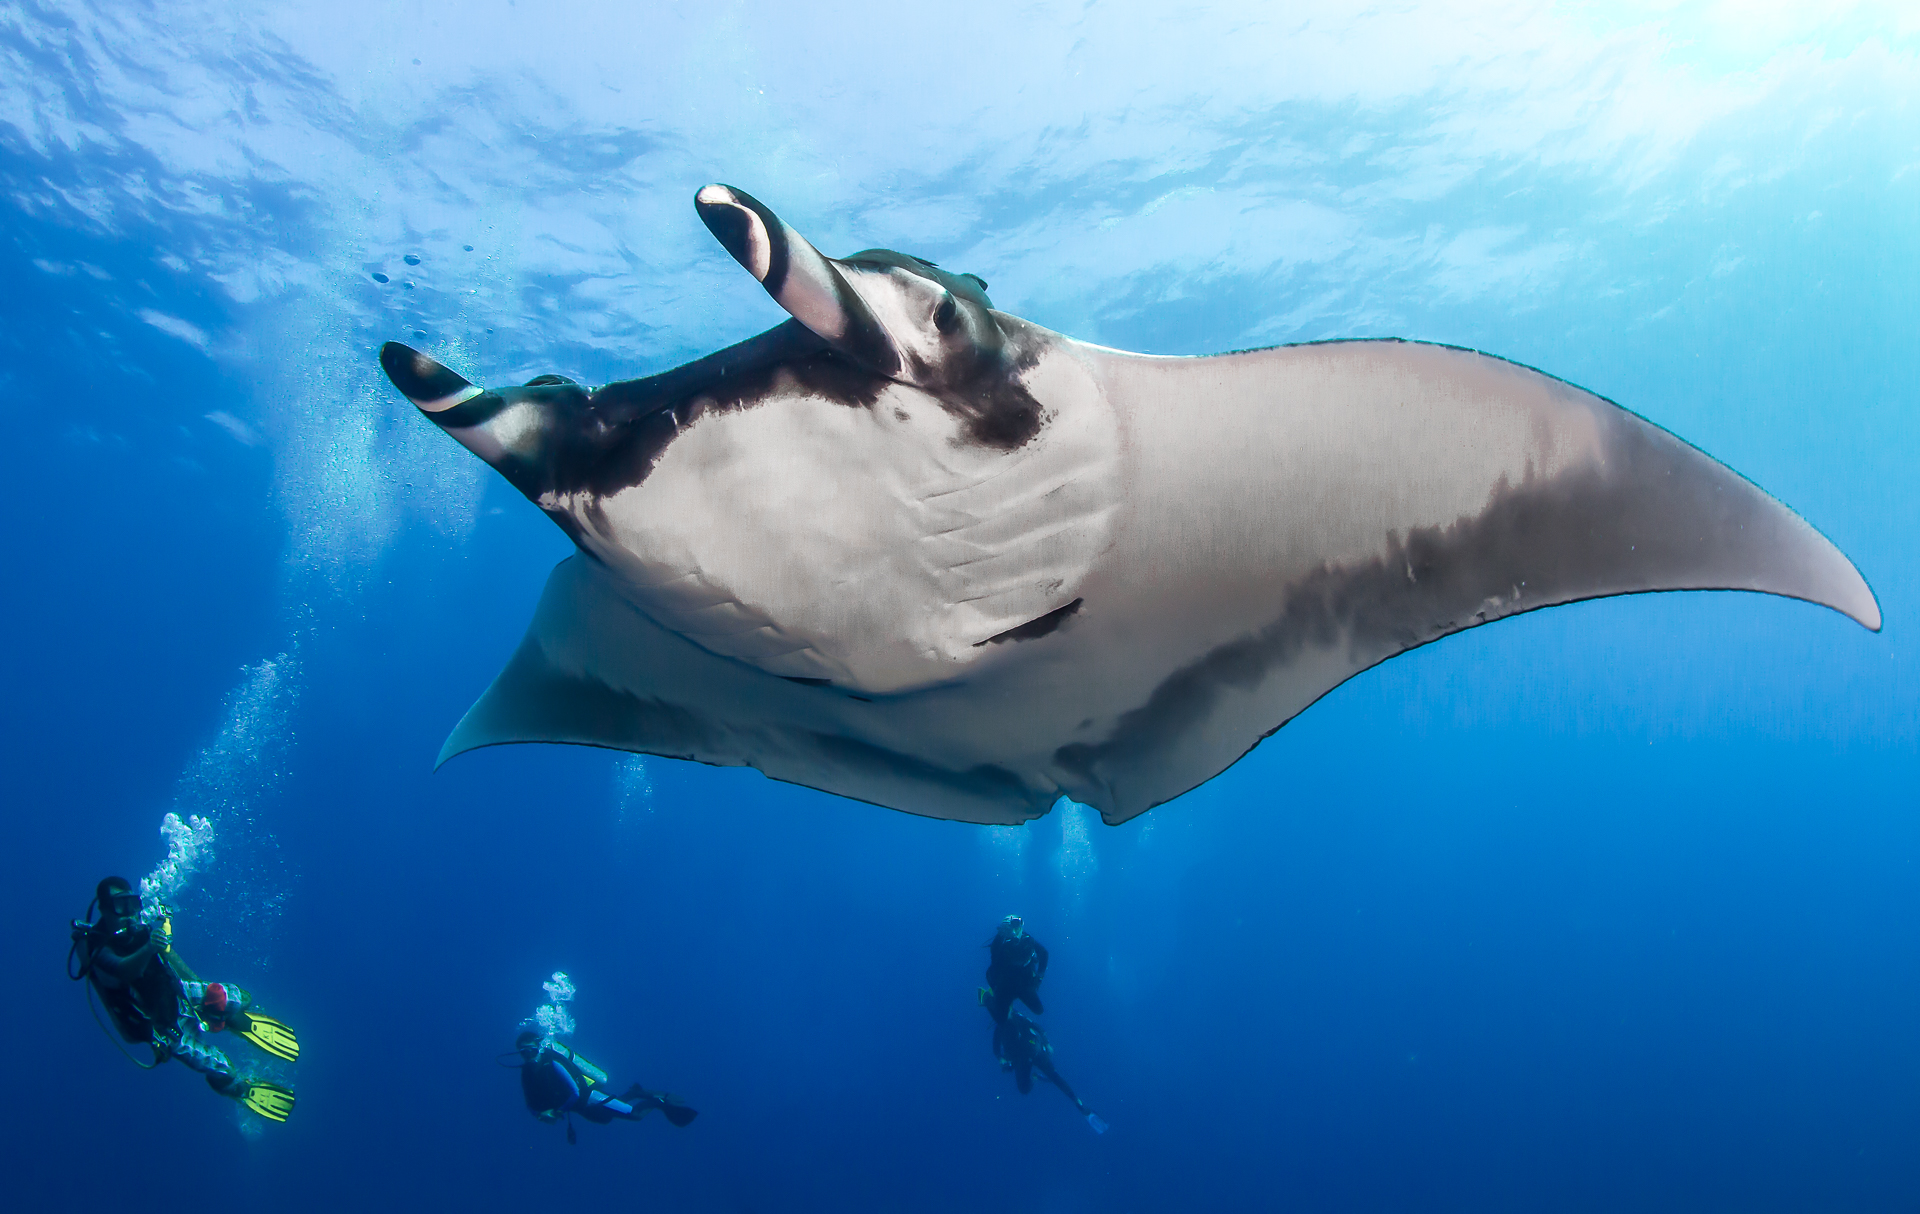
9) Include divers for connection and perspective.
Adding a diver in a frame helps create an emotional connection to the scene with those who view an image. There is often a sense of “wow, that could be me” or “I wonder what that diver is feeling or thinking” that pulls the viewer into a scene. In addition, viewers have some intuitive sense regarding a diver’s size, so a diver in a picture of anything from a frogfish to a whale shark to a shipwreck provides a sense of scale for viewers.
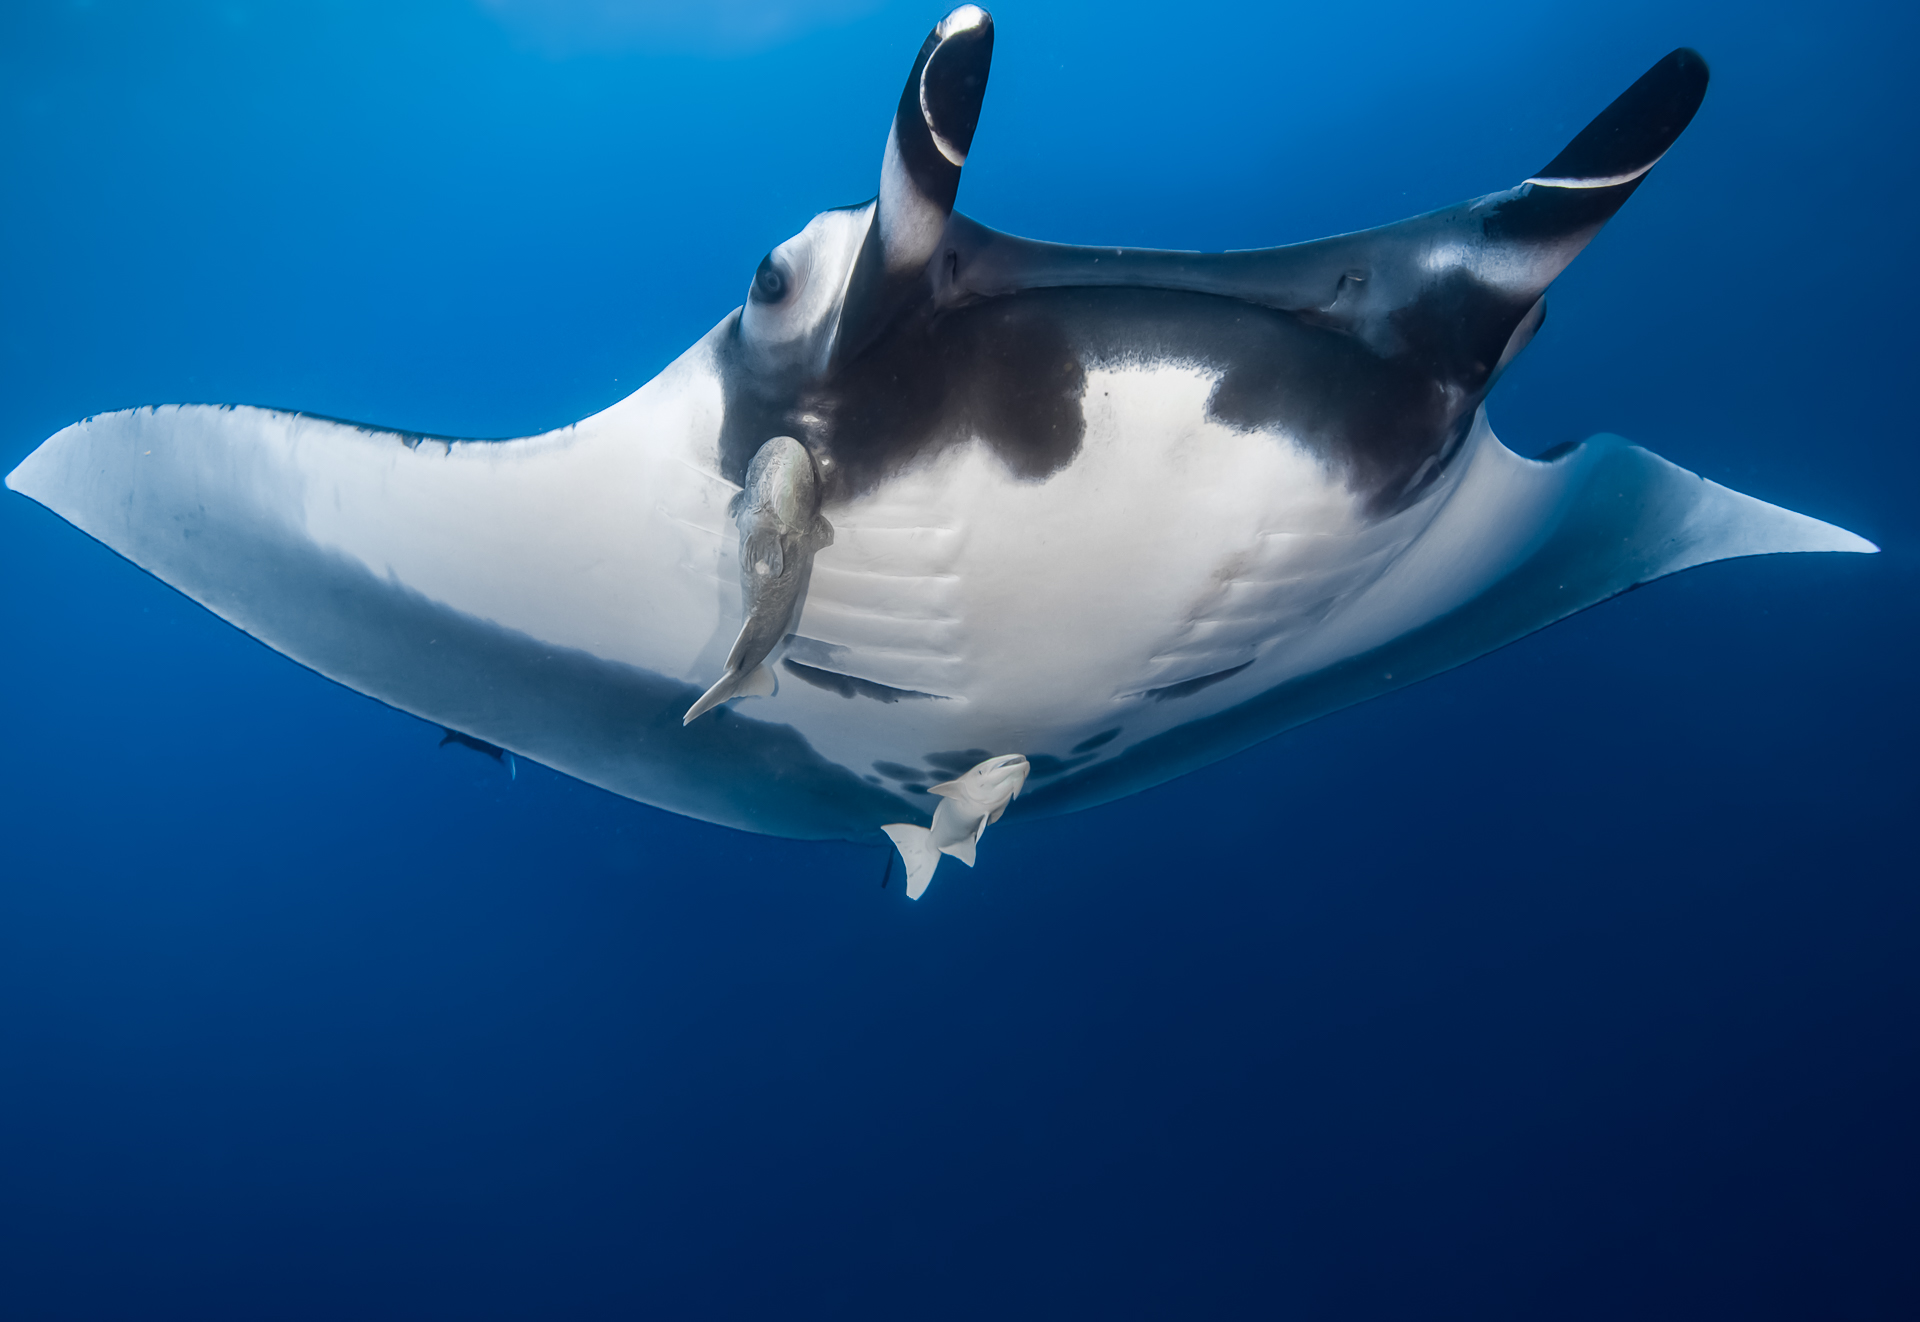
10) When photographing animals that are too big to light with a strobe (think whales, whale sharks, pods of dolphins etc.), use the sun to your advantage.
If possible, shoot with the sun at your back or slightly off to one side so the face or head of a subject swimming toward you is well-lit. Shooting without a strobe while looking into the sun often results in a subject’s face and head lacking detail and appearing darker than other less important elements in the background of an image. The result is usually disappointment.
Being aware of the position of the sun relative to your subject can be especially beneficial when shooting in the morning and late afternoon. There is nothing you can do about it when the sun is directly overhead.
Of course, you can’t control where an animal will appear and the direction it is going to swim, but keeping the position of the sun relative to the subject in mind can help you move into the best possible position.
👇 Here is an example of a photograph of a whale shark made, as desired, with the sun at my back. 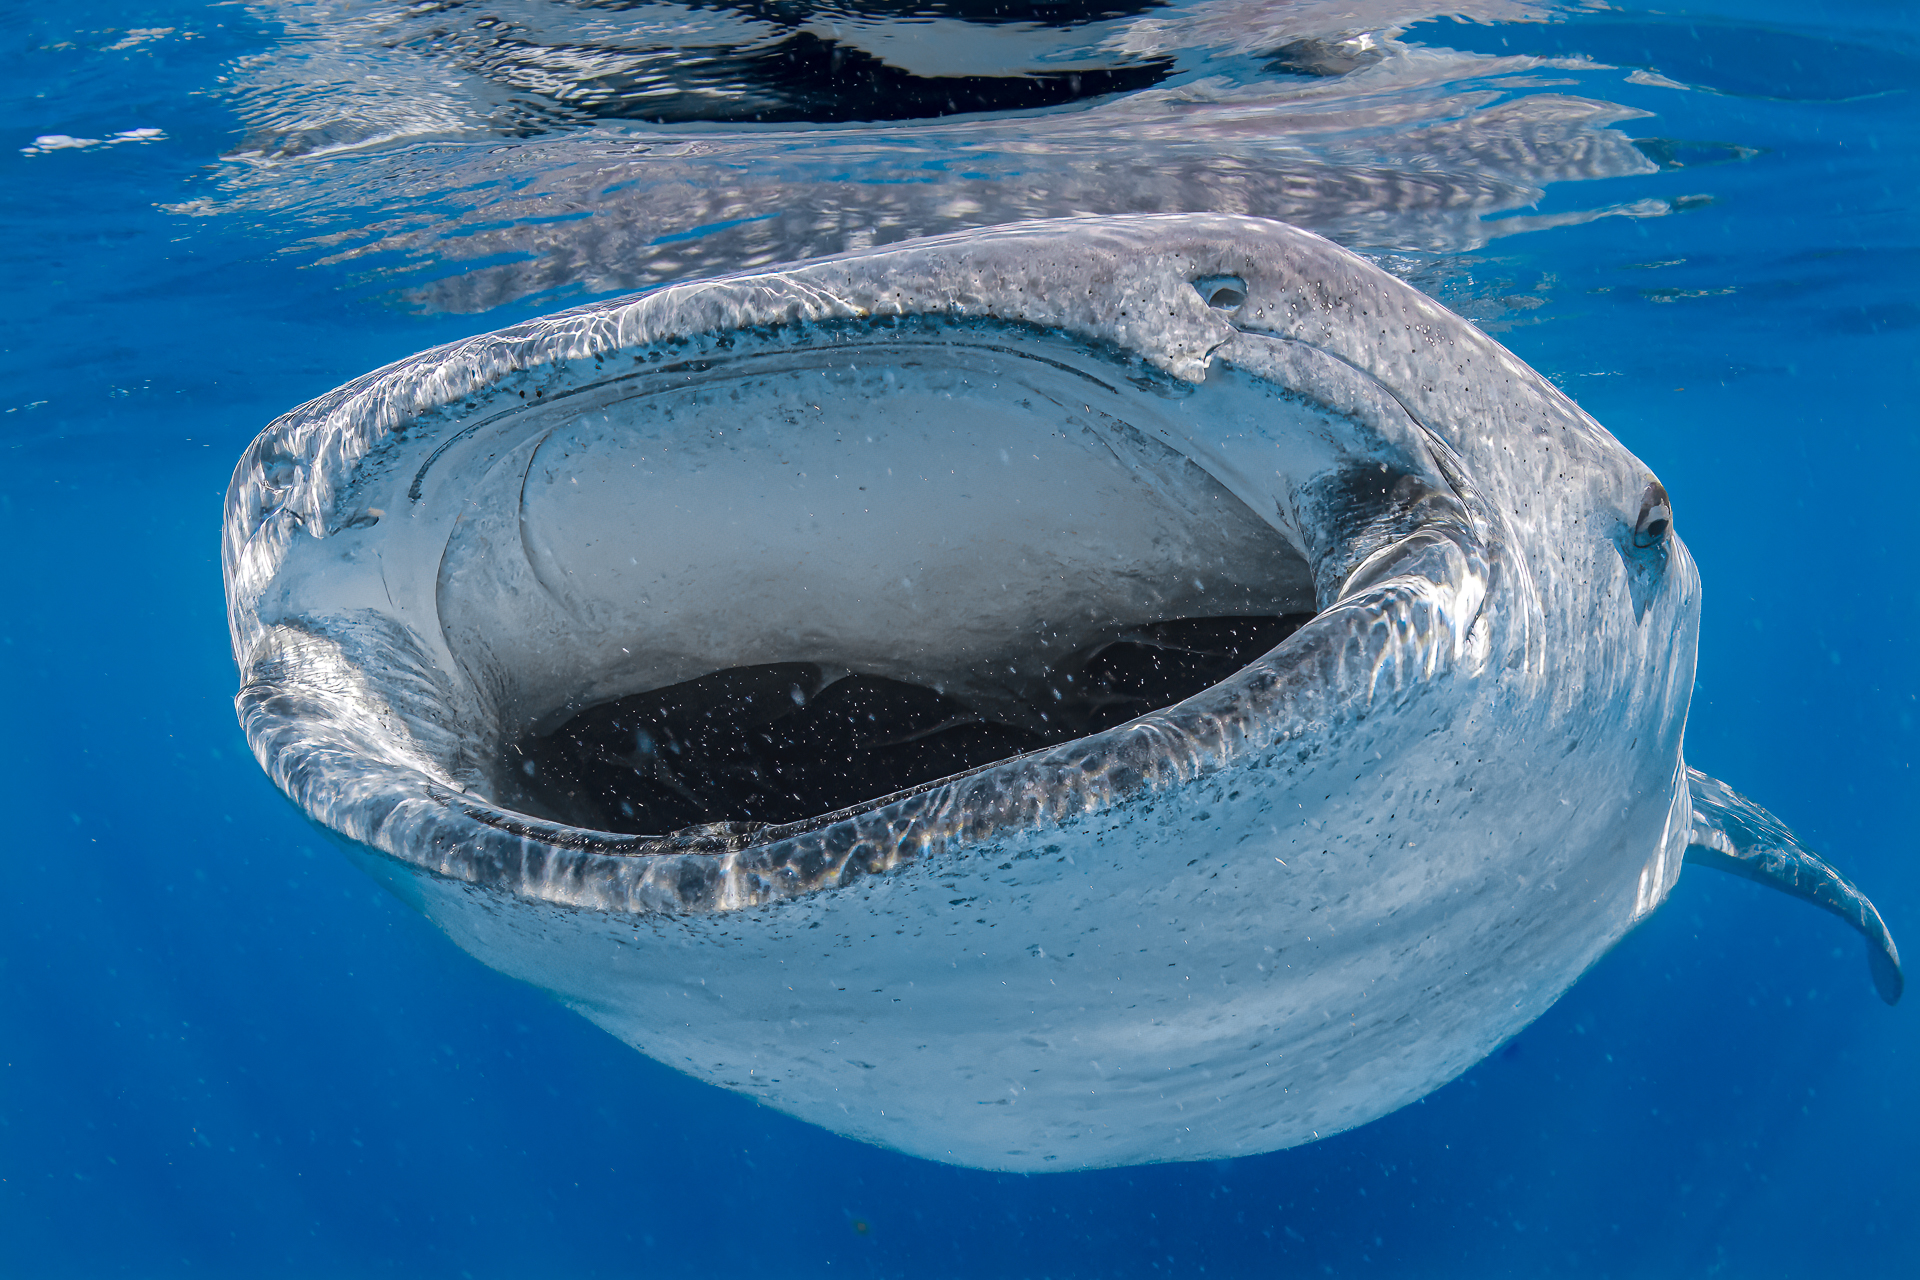
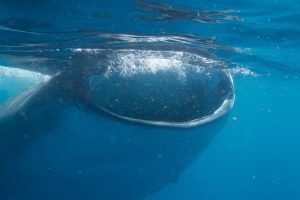
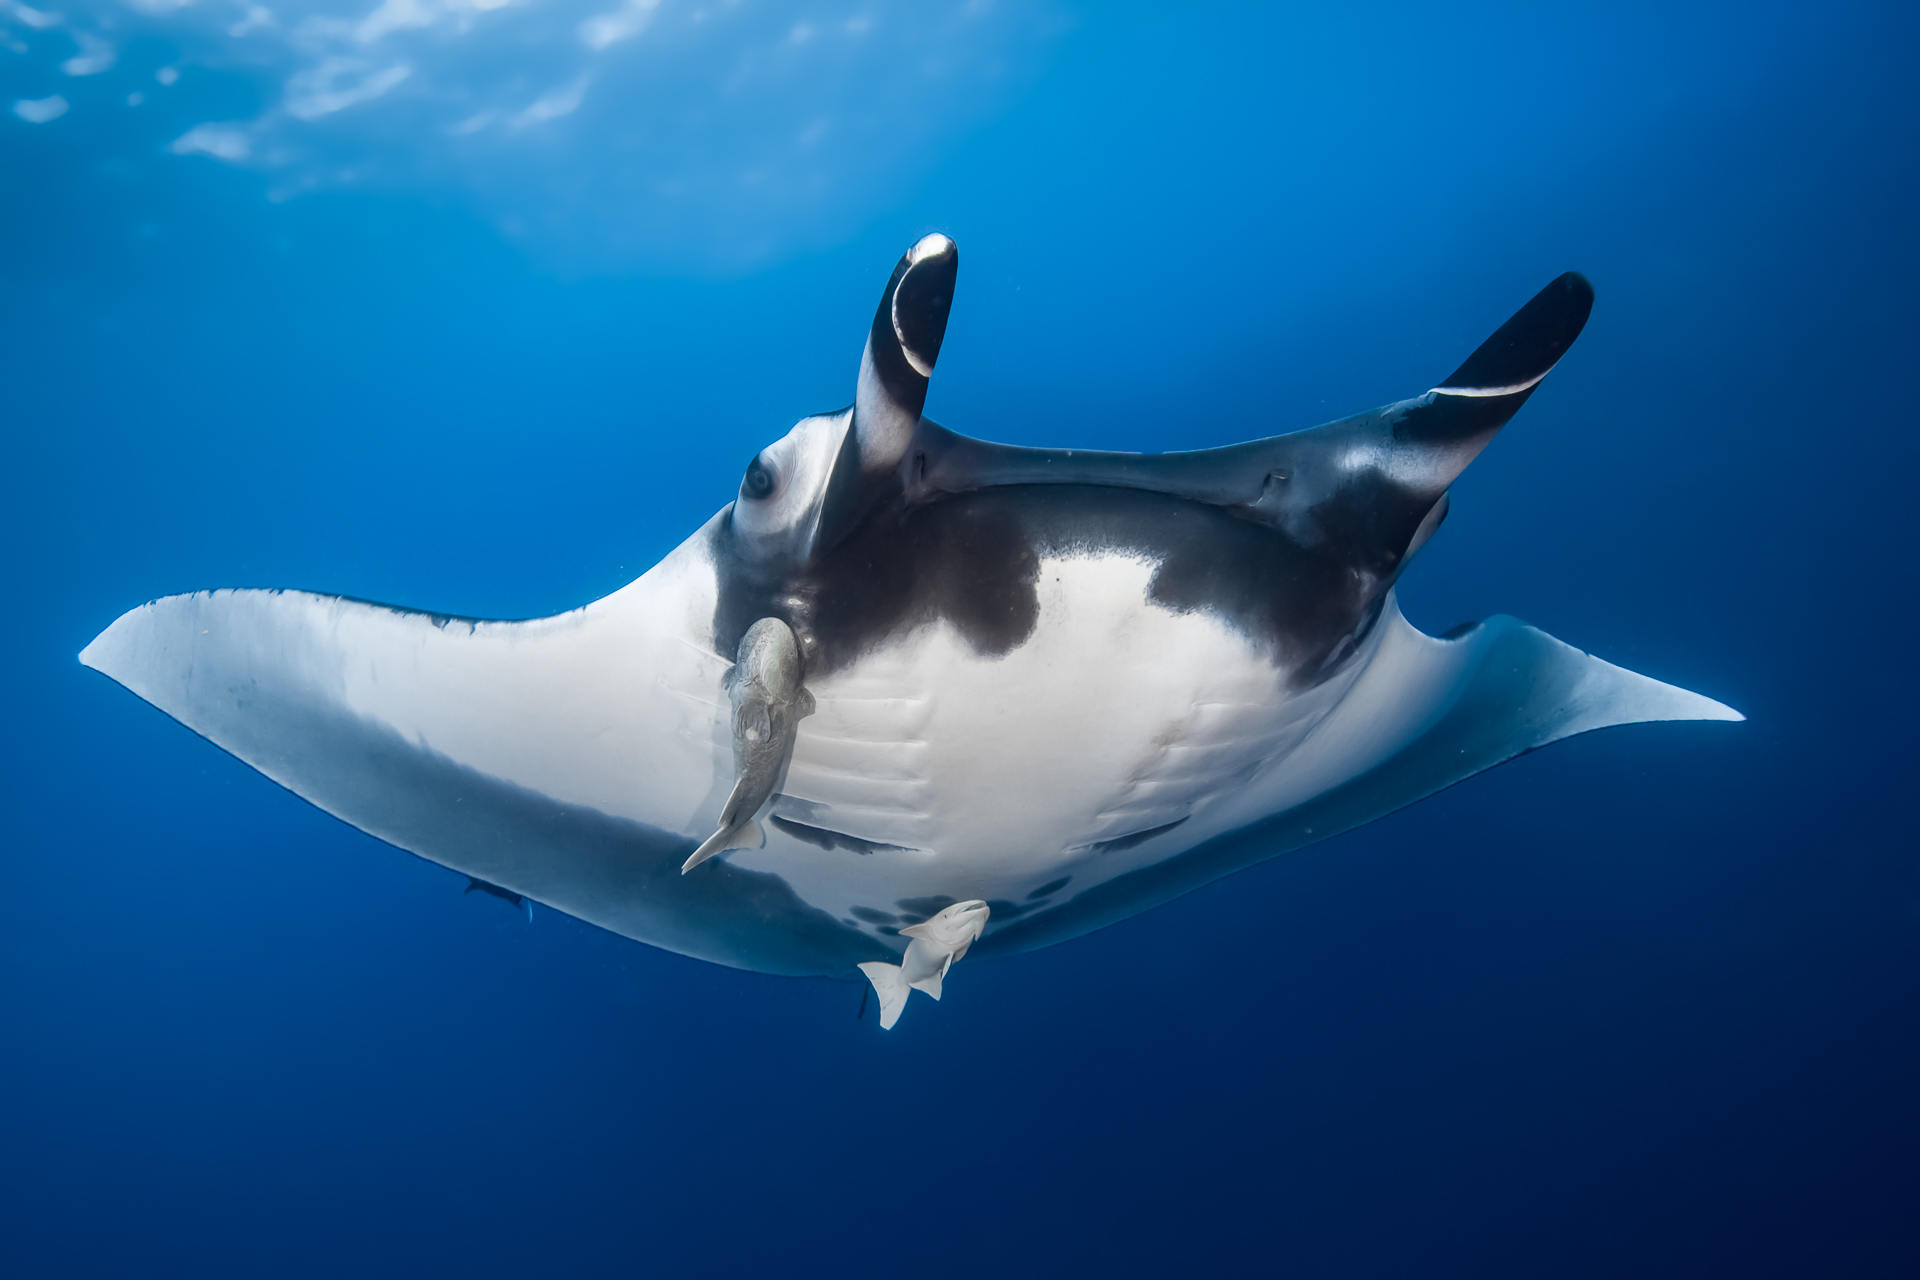
By comparison, this scene was shot into the sun 👉
11) Check the edges of your frame for potential distractions.
When composing a photograph, factors ranging from looking through a mask into a small viewfinder or at an LCD screen to task overload can make the edges of your frames considerably more difficult to see than the center of a frame. Unwanted distractions like another diver’s fins, part of a fish, part of a sea fan, anchor line, or other element that is not your subject have a way of creeping into frames if you don’t make a special effort to check around the edges before creating a picture. Developing the habit of “checking the edges” takes effort and practice, but the payoff is that doing so will help you prevent distractions like those from denigrating a photograph.
Checking the edges can also help you fill a pleasing percentage of your frame with your subject as it will make you more aware of the size of your subject compared to the size of the overall frame.
Avoid this 👇
Strive for this 👉
12) Get close, get low, and shoot at an upward angle.
Getting low and shooting at an upward angle often adds a sense of drama and helps create separation between a subject and its background. The benefit of getting close was covered in tip #2 and is an equally important element in the often-repeated mantra, “get close, get low, and shoot up.”
 With the above being said, this shooting angle was even more beneficial in the days when film ruled the day. Shooting at a downward angle works better in the digital era as it is easier to properly expose a subject without making the background way too dark through the good use of post-processing techniques.
Even so, shooting at an upward angle usually produces a more pleasing photograph.
In closing, I want to reiterate that these tips are not rules set in stone. If your frame looks good to you, make the image. It is much easier to delete a shot than it is to make it later.
Sea you again soon! In the meantime, do your best to enjoy the entire process of making photographs, not just your processed images!